Collectors
One of the core components of DocIntel are collectors, which is responsible for retrieving reports and structured data from external sources. Collectors allow CTI teams to streamline their collection effort and reduce the required steps for the reports to be available to analysts. Collectors can be customized with various settings to fit the specific needs of users, including the frequency of checks, and the number of reports pulled at each request. In this administration guide, we will provide step-by-step instructions on how to install, edit, configure, and delete collectors.
Typically, collectors are part of external modules to connect your DocIntel instance to commercial threat feeds.
Installing a Collector
- Log in to the DocIntel application as an administrator, or with a user with sufficient privileges.
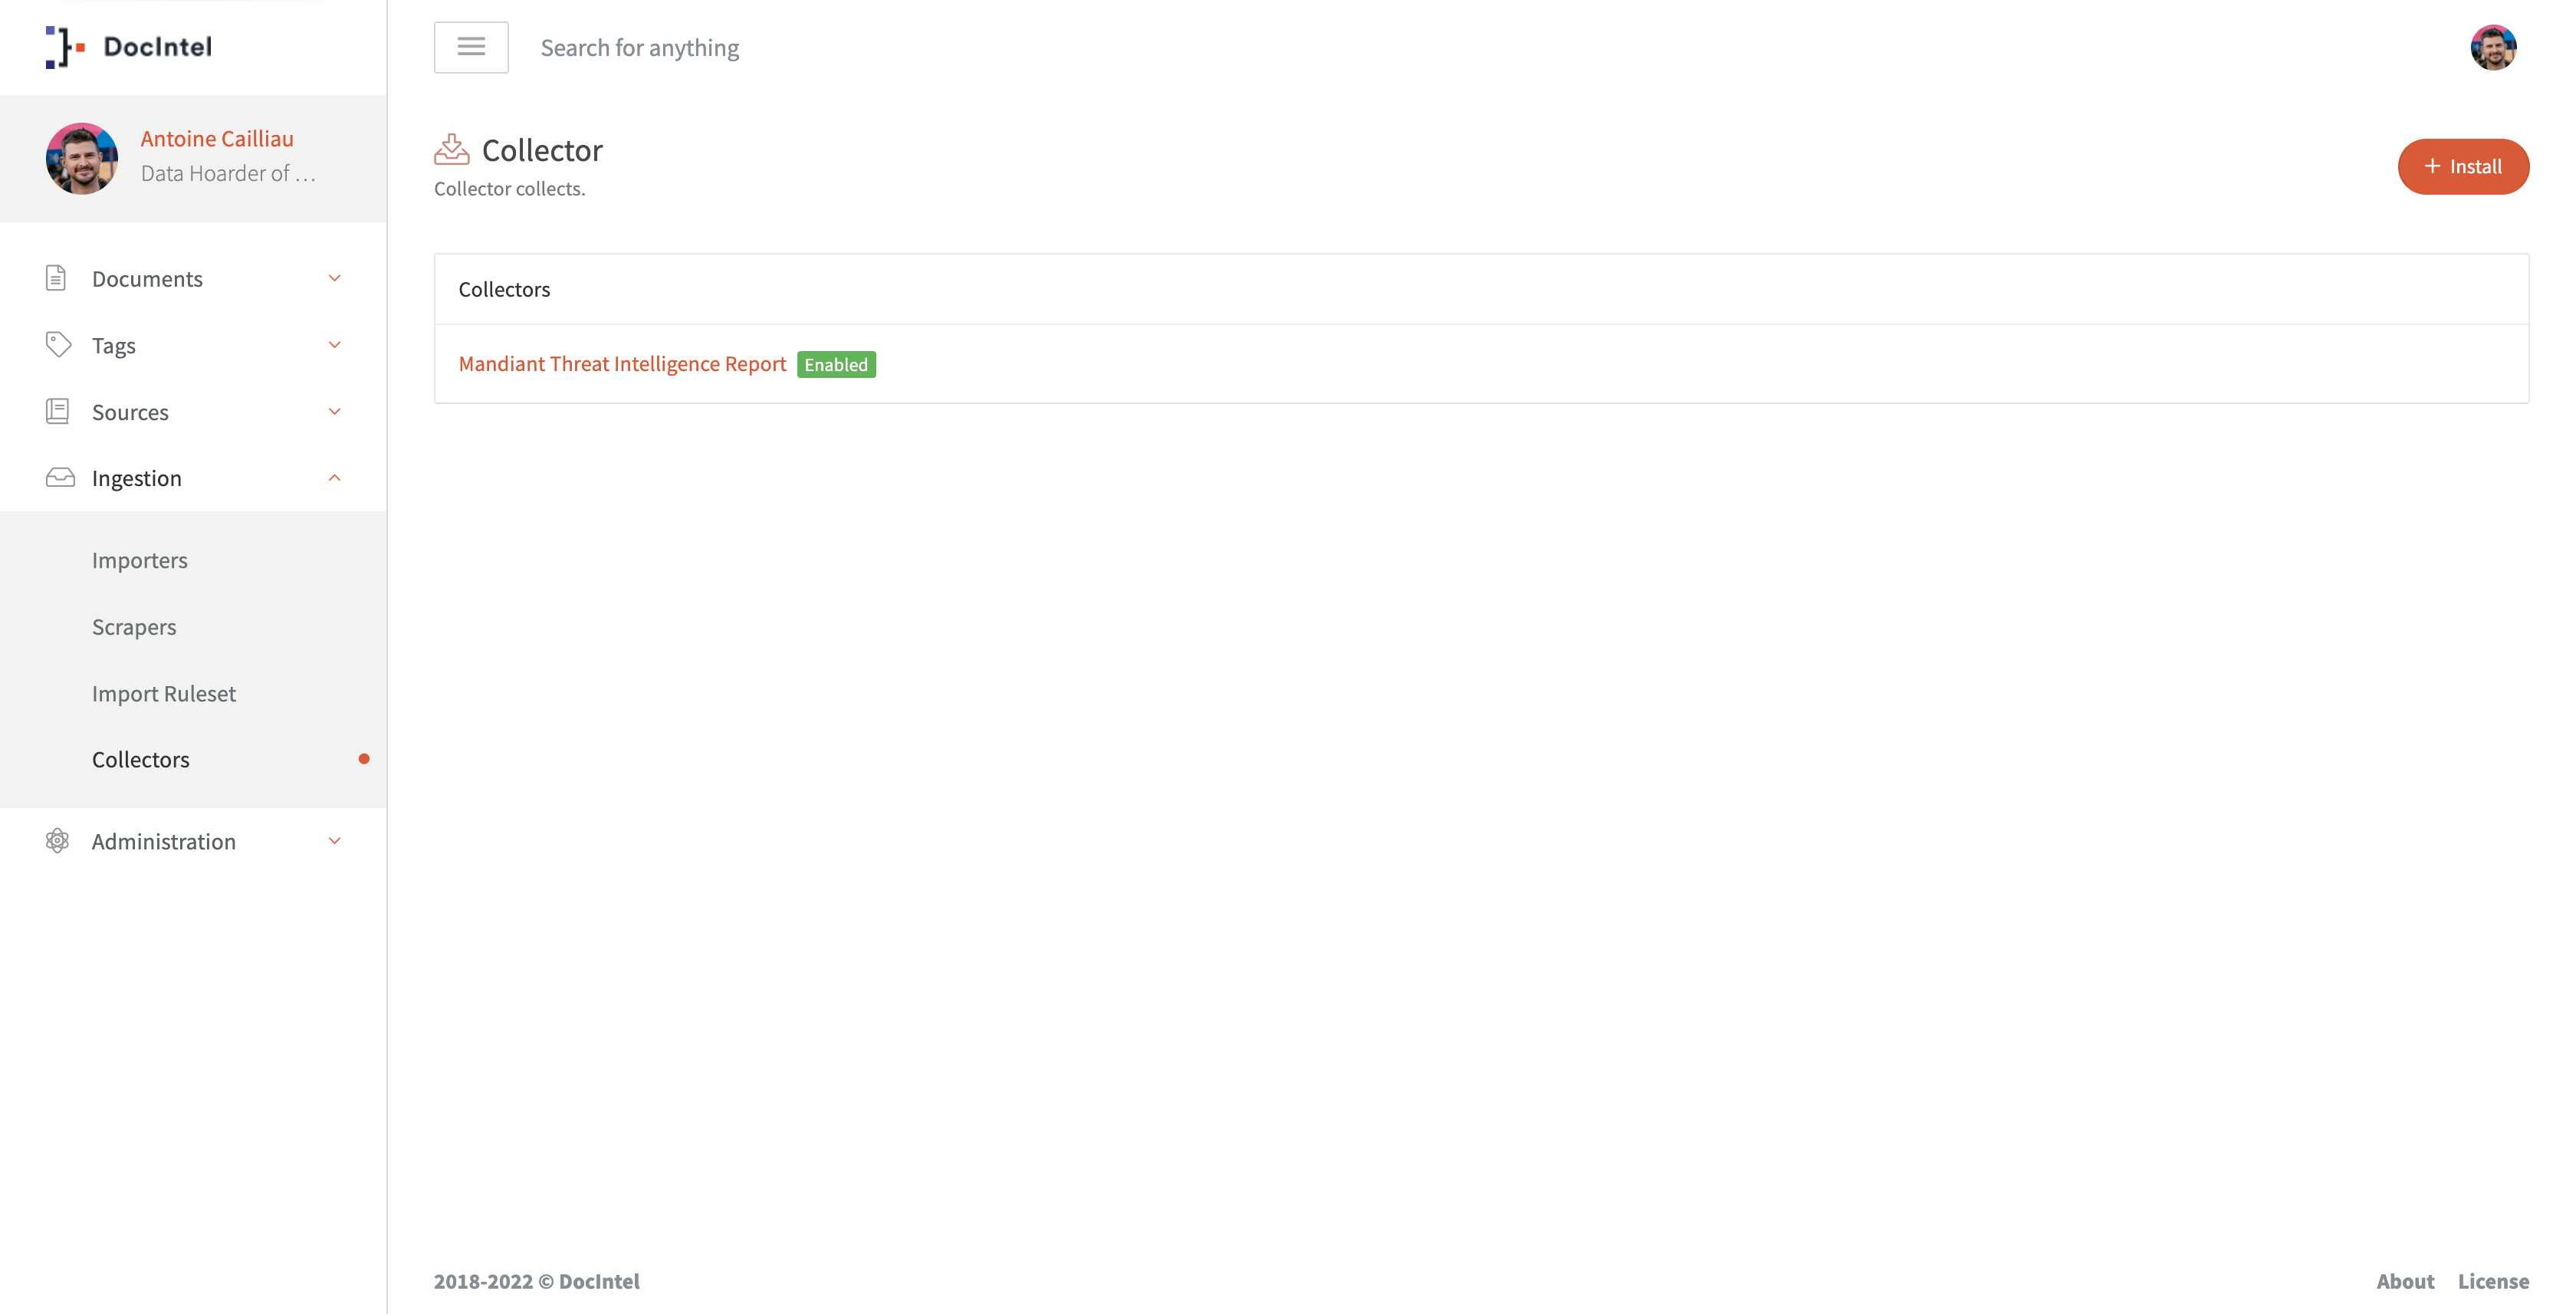
- Click on the “Collectors” tab on the left-hand side of the screen, under the “Ingestion” menu.
- Click on the “Install” button in the top right-hand corner of the screen.
- Select the collector you want to install
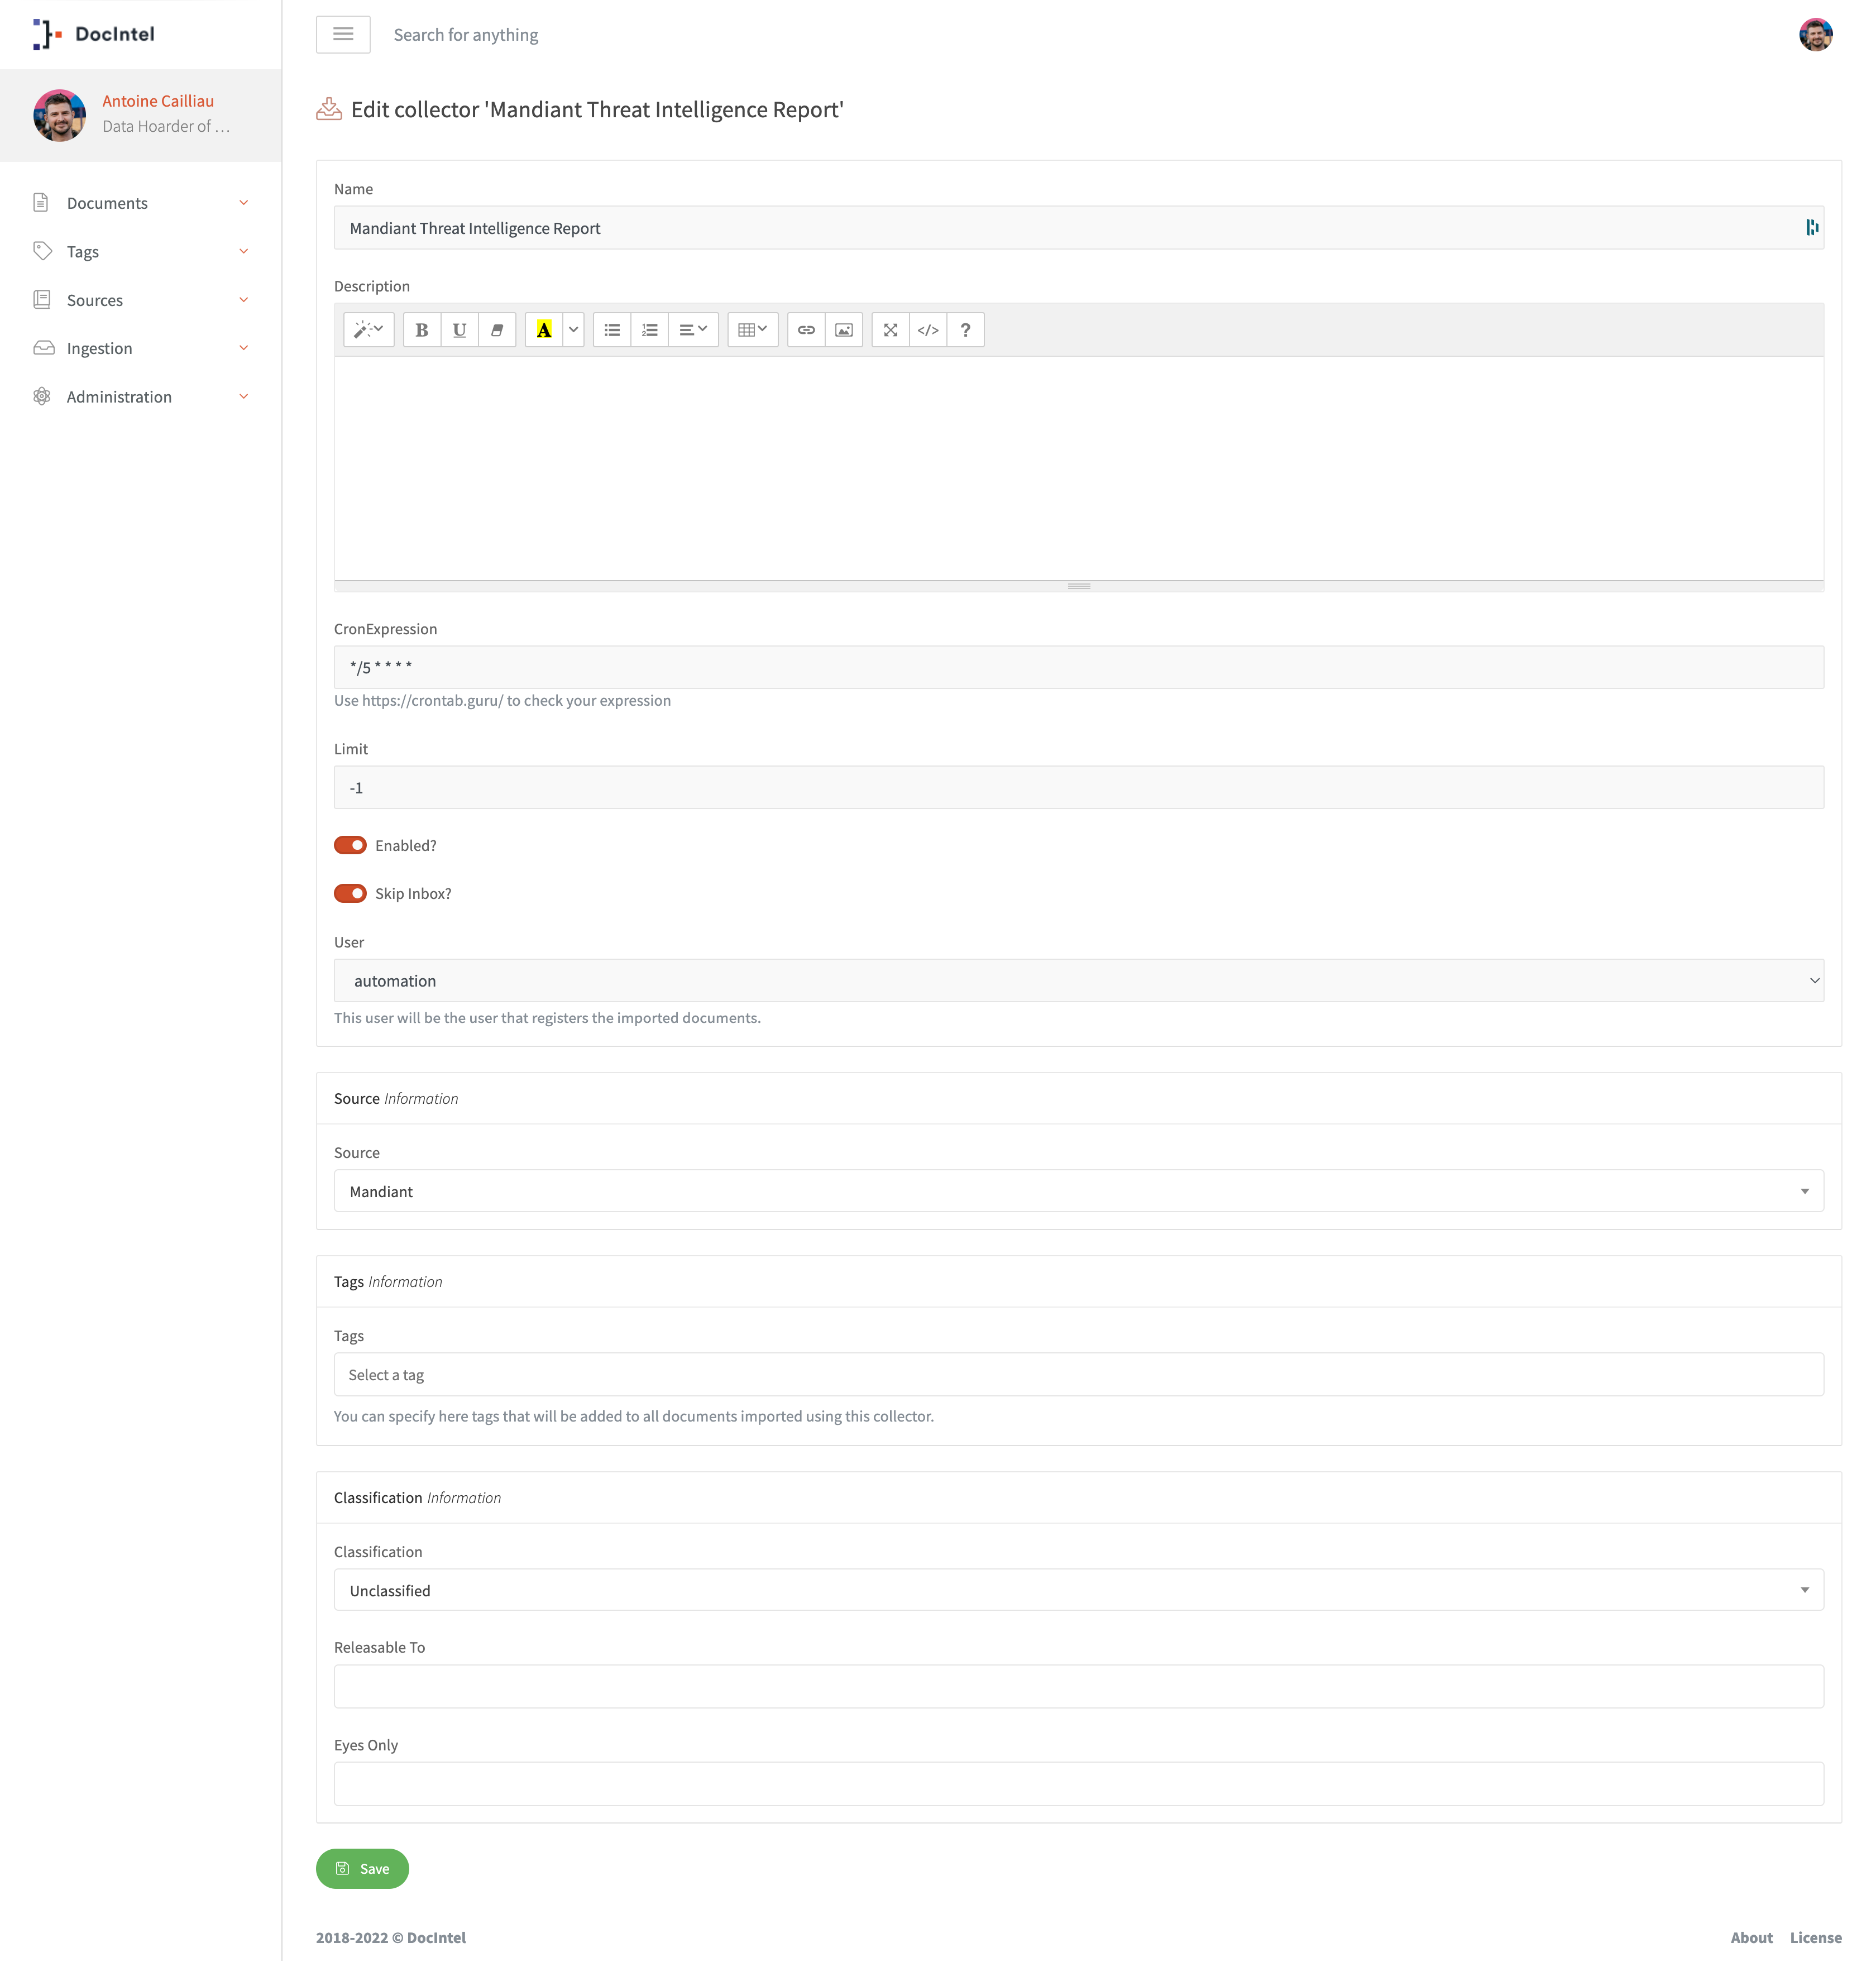
- In the “Name” field, enter a name for the collector that will make it easy to identify later.
- In the “Description” field, add a brief description of what the collector will do.
- In the “Cron Expression” field, enter a valid cron expression to configure the frequency of the checks. You can use a cron expression generator to make this process easier.
- In the “Limit” field, enter the number of reports you want to pull at each request. Use a negative value to disable the limit.
- Check the “Enabled” box if you want the collector to be active.
- Check the “Skip Inbox” box if you want the collector to skip the pending document list and register all documents directly.
- In the “User” field, select the user under which the documents will be registered.
- In the source section, configure the collector to link the reports to a specific source.
- In the tag section, you can have the collector add tags to the pulled documents to help categorize them.
- In the classification section, set up the classification settings for the collector.
- Click on the “Save” button to add the collector to the system.
Editing a Collector
- Log in to the DocIntel application as an administrator.
- Click on the “Collectors” tab on the left-hand side of the screen, under the “Ingestion” menu.
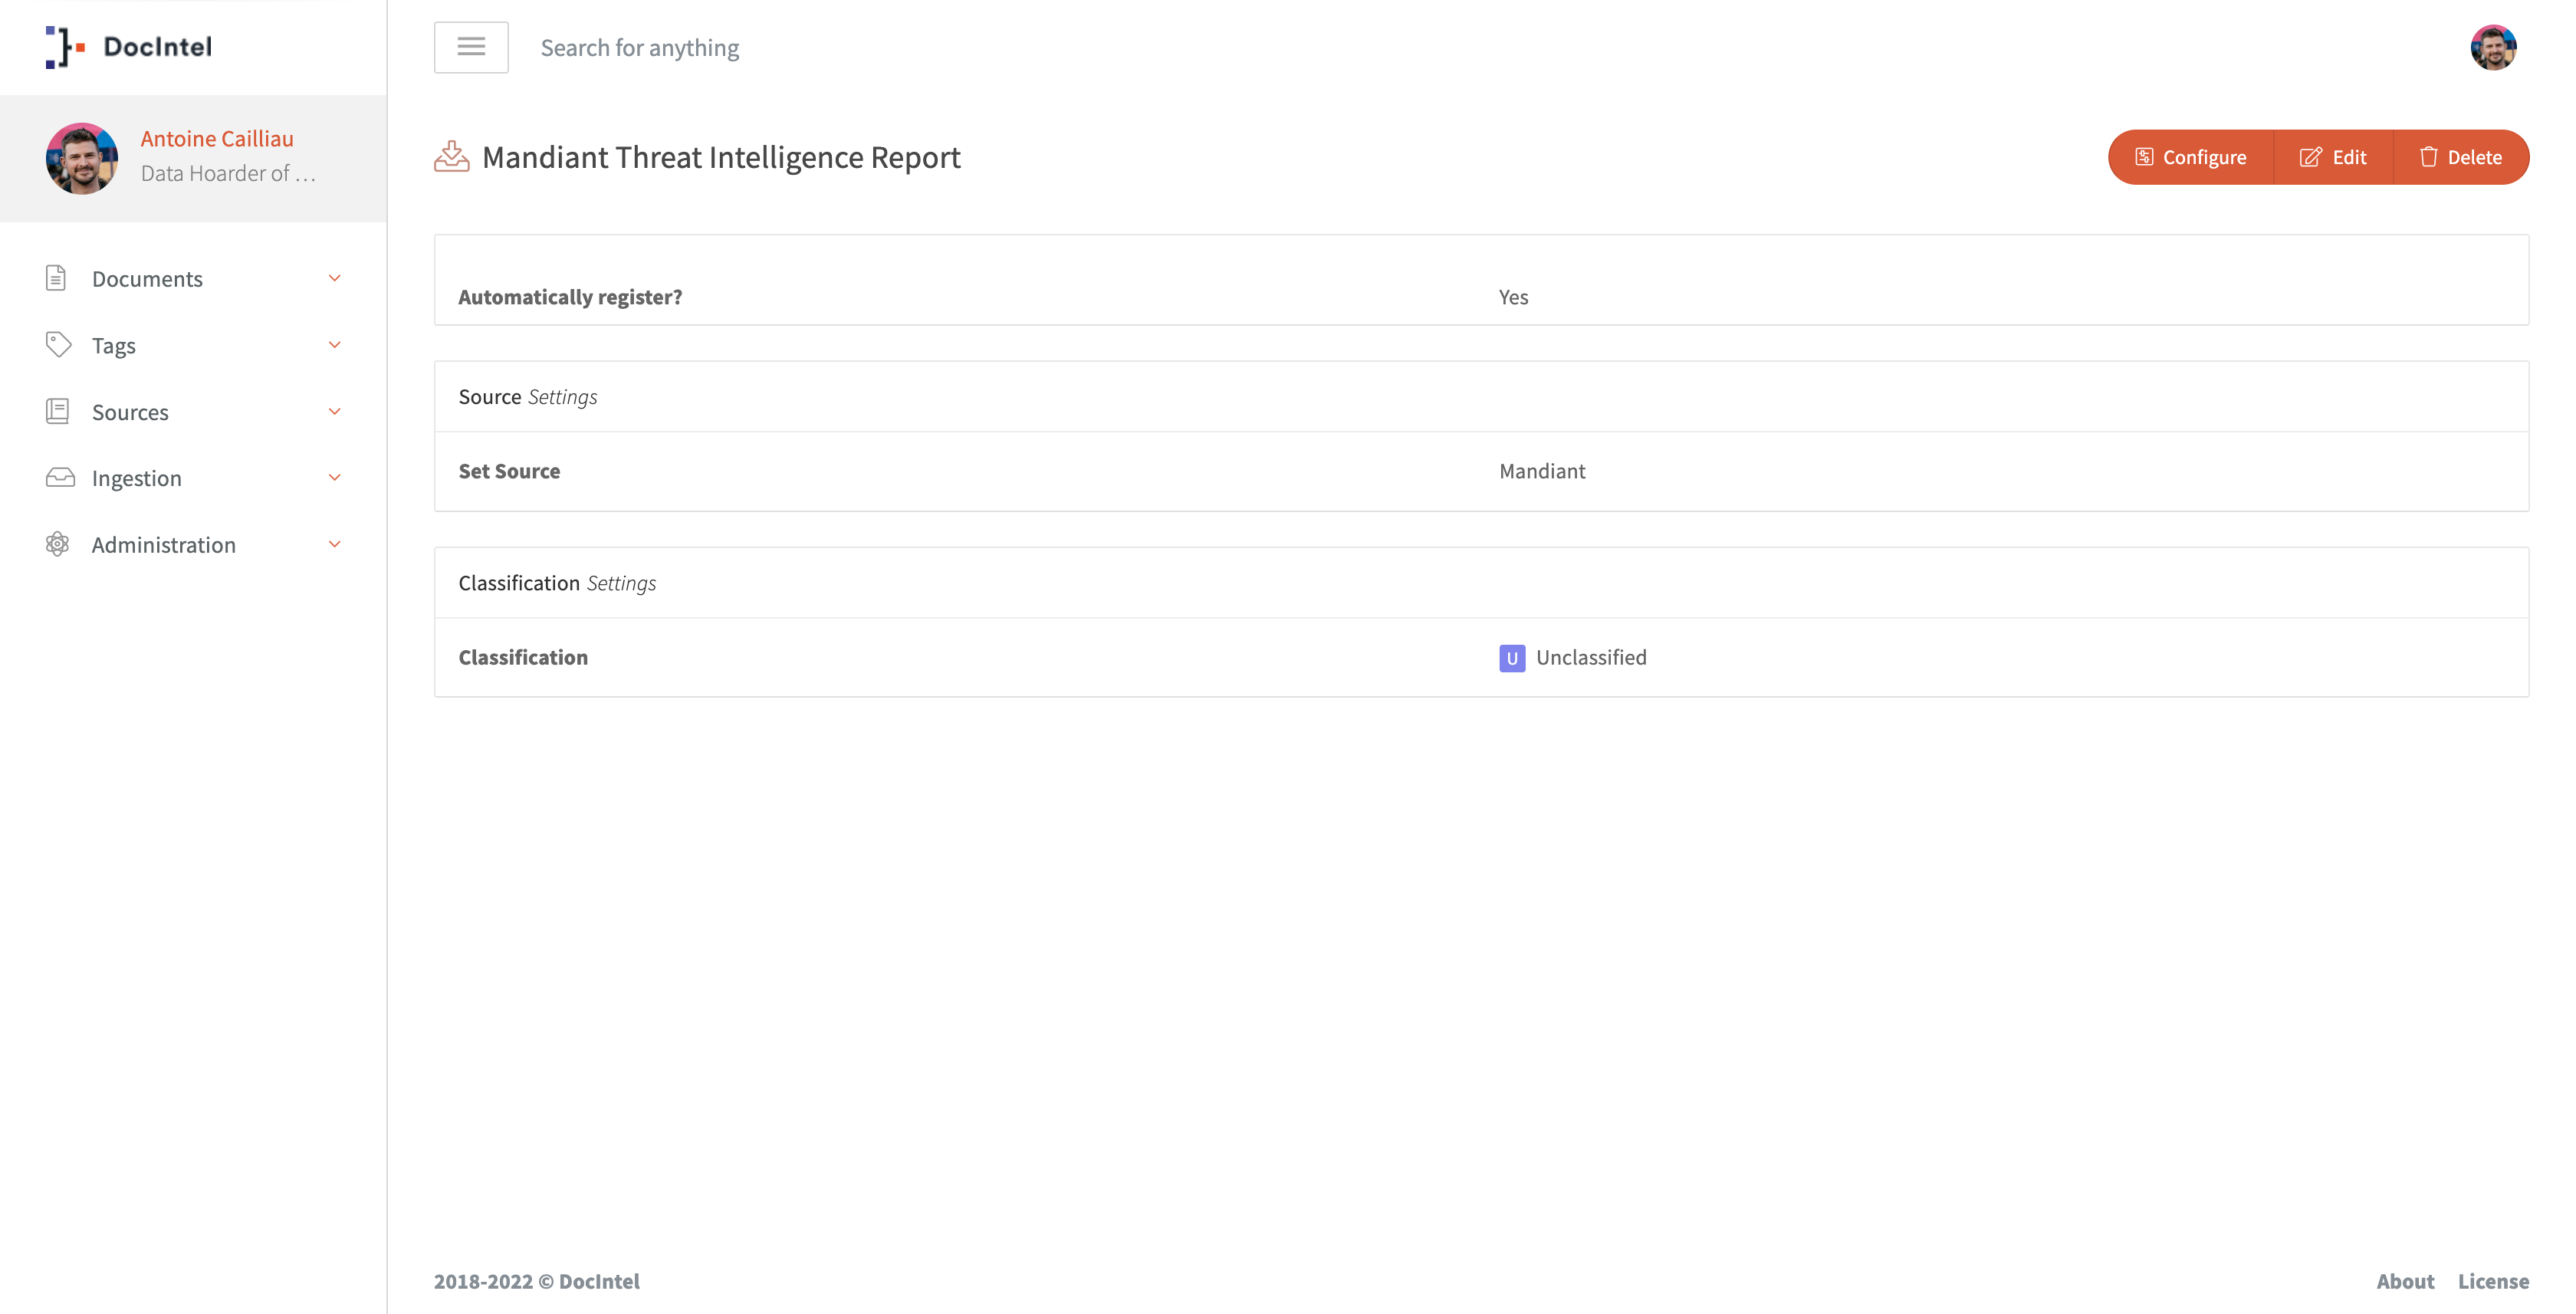
- Find the collector that you want to edit and click on its name.
- Click on the “Edit” button on the top right.
- Make any changes to the fields that you want to edit.
- Click on the “Save” button to save the changes.
Configuring a Collector
- Log in to the DocIntel application as an administrator.
- Click on the “Collectors” tab on the left-hand side of the screen, under the “Ingestion” menu.
- Find the collector that you want to edit and click on its name.
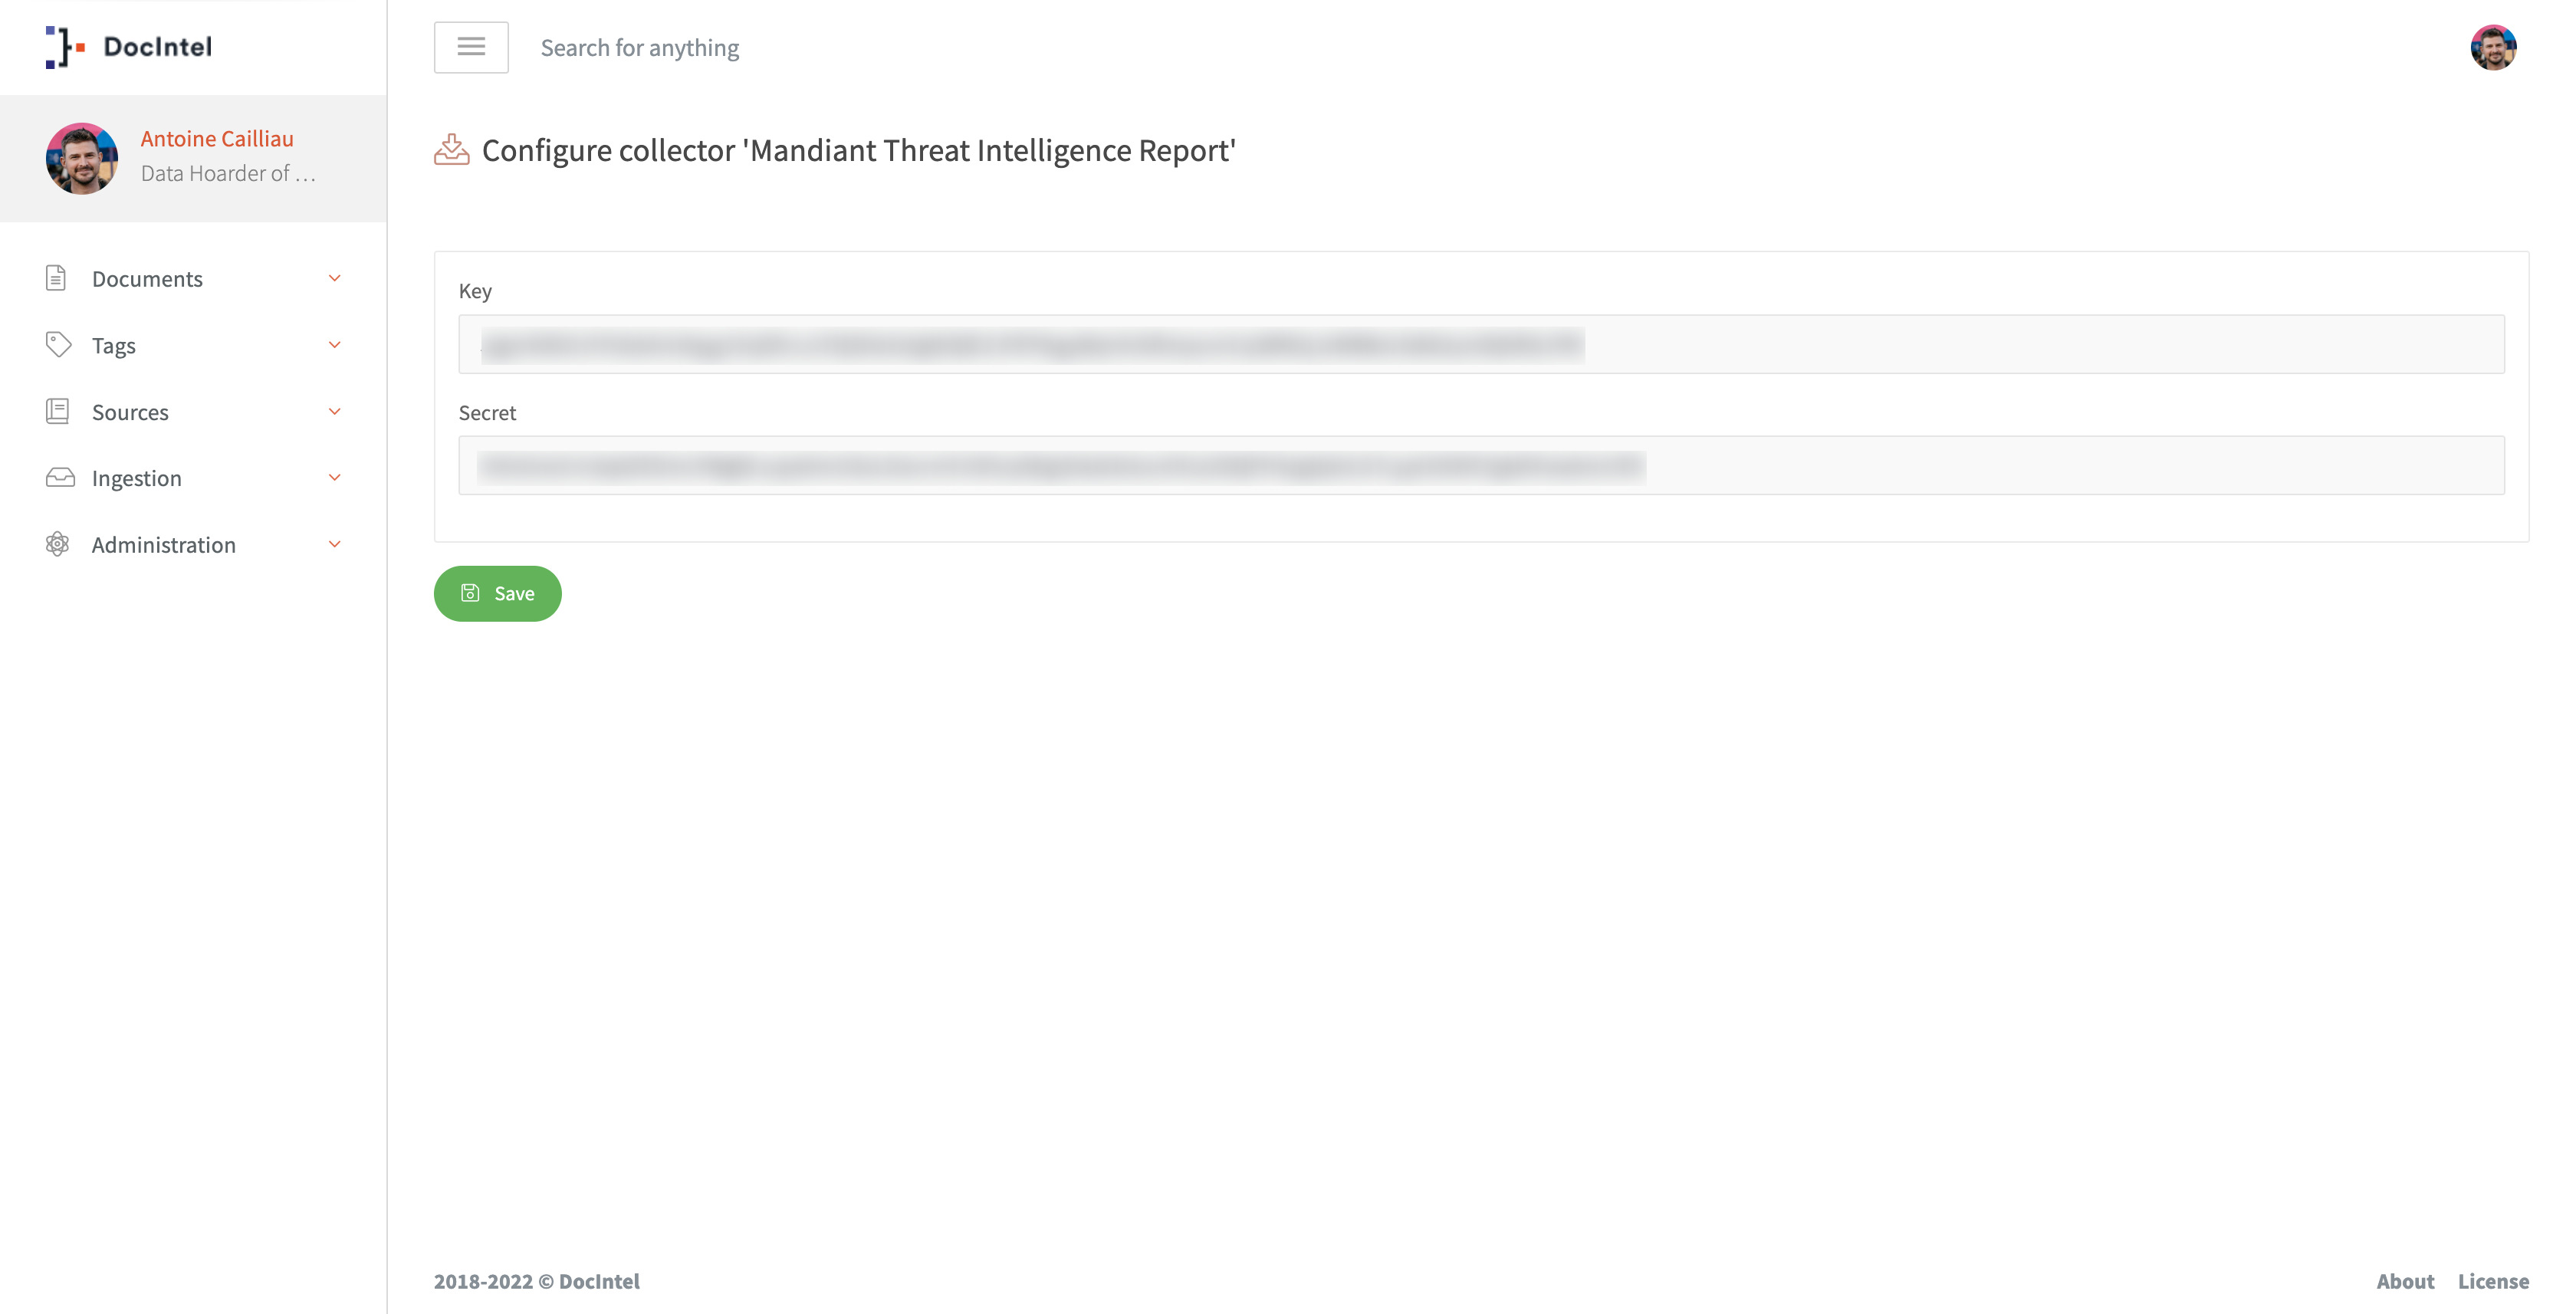
- Click on the “Configure” button on the top right.
- On the configuration page, you can customize the collector to suit your specific needs. This page will vary depending on the collector and the data source you are working with. Refer to the collector documentation for specific configuration instructions.
- When you are done configuring the collector, click on the “Save” button to save your changes.
Deleting a Collector
- Log in to the DocIntel application as an administrator.
- Click on the “Collectors” tab on the left-hand side of the screen, under the “Ingestion” menu.
- Find the collector that you want to edit and click on its name.
- Click on the “Delete” button on the top right.
- A confirmation message will appear asking if you are sure you want to delete the collector. Click on the “Yes” button to confirm.
